DIY hair color can seem like an easy way to save time and money, but things don’t always turn out as planned. It’s easy to get excited about a new shade and jump right in, but there are some common mistakes that many first-timers end up regretting. From uneven tones to surprise brassy undertones, it’s more complicated than just picking a color off the shelf.
But don’t worry—these mistakes are fixable, and they don’t mean you have to toss the whole idea of coloring your hair at home. In fact, we’ve got 7 simple fixes to help you get your hair back on track. With the right tools and a little know-how, you can avoid the common pitfalls and get the color you’re aiming for—without the salon price tag.
Mistake 1: Choosing the Wrong Shade

Choosing a hair color shade can be overwhelming and sometimes lead to regret. When selecting a shade, many first-timers mistakenly opt for a color based on the model on the box rather than their own natural tones.
This often results in an unexpected outcome that doesn’t complement their skin tone. Instead, consider your natural hair color and seek professional advice if unsure.
Did you know? Hair colors often appear darker when applied than shown on the box. Always do a patch test and consult color charts in natural light to ensure satisfaction.
Fix 1: Use a Shade Adjusting Product
If the color you chose doesn’t suit you, a shade adjusting product can be a lifesaver. These products are specially formulated to subtly alter hair color, making it more flattering.
They work by gently toning the existing color, gradually aligning it closer to your desired outcome. Always follow the manufacturer’s instructions for optimal results.
Remember, patience is key. Adjusting takes time, but it prevents damage from repeated dyeing. A professional consultation can provide additional guidance if needed.
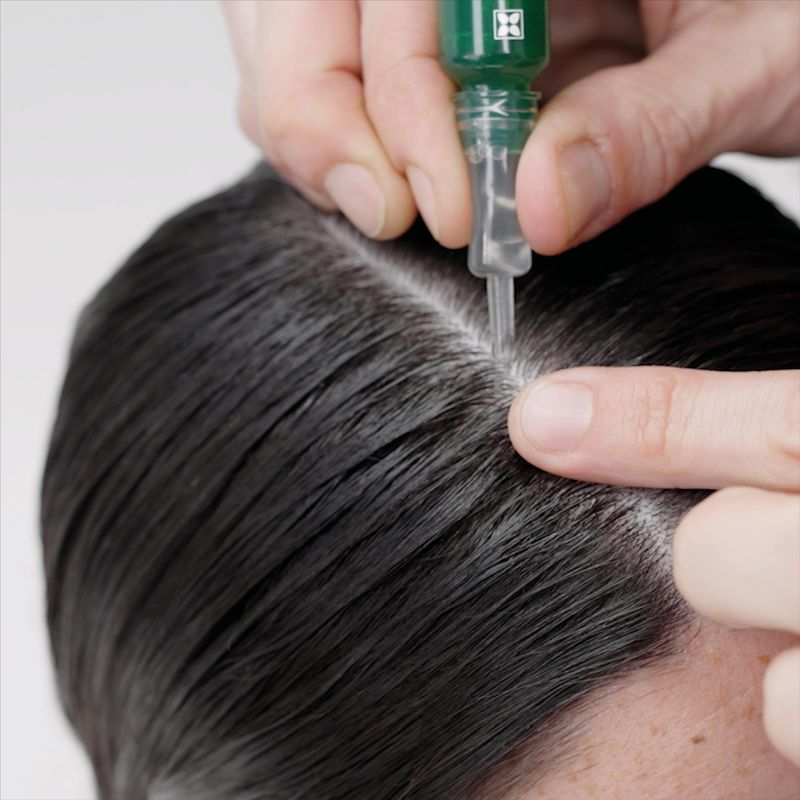
Mistake 2: Skipping the Strand Test
The strand test might seem like an unnecessary step, but it serves as an essential preview of your dye results. Many skip this crucial test, leading to unexpected and sometimes disastrous outcomes.
Without it, the final result may not match your expectations, either in color or in how your hair reacts.
Conducting a strand test ensures that the chosen dye will yield the desired color without adverse reactions, saving you from potential disappointment or damage.
Fix 2: Re-Dye with Caution

If the initial dye job didn’t turn out as expected, consider re-dyeing but proceed with caution. Choose a color that is either the same or darker, as lightening previously dyed hair can be tricky.
Ensure you nourish your hair between dye jobs to maintain its health and minimize damage risk. Always follow instructions and allow time between dyeing sessions.
For best results, consider consulting a hair professional to guide you through the correction process safely.
Mistake 3: Ignoring the Hair’s Health

Hair health is often overlooked by DIY color enthusiasts. Coloring unhealthy hair can exacerbate damage, resulting in breakage and dullness.
It’s vital to assess and improve hair condition before applying any dye to ensure even color distribution and a vibrant finish.
Incorporate nourishing treatments and deep conditioners into your routine to prepare your hair for the coloring process and enhance the longevity of your color.
Fix 3: Intensive Conditioning Treatment
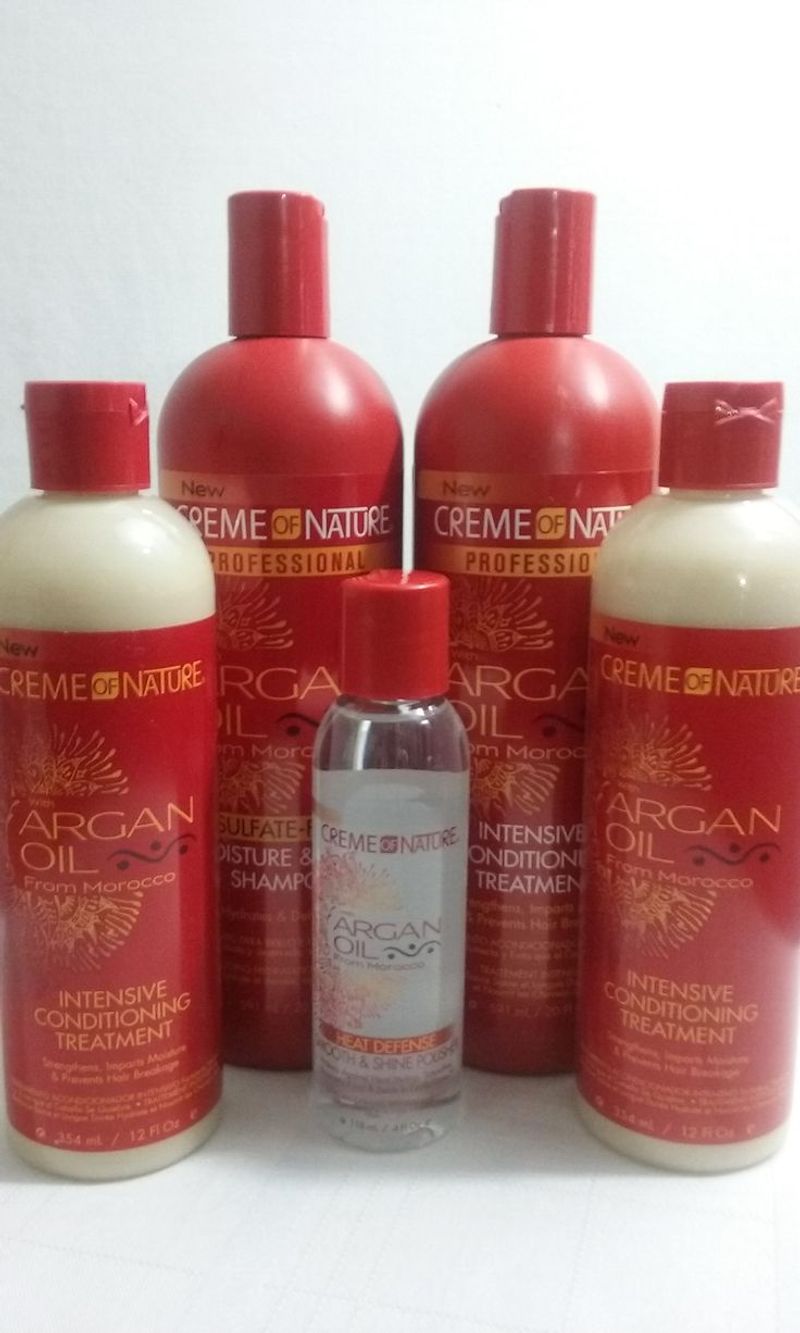
If your hair is left damaged after coloring, intensive conditioning treatments can help restore its health. Opt for masks that focus on hydration and strengthening.
Apply these treatments regularly to rejuvenate your hair, bringing back its shine and elasticity. Natural ingredients like coconut oil and shea butter are excellent choices.
A consistent care regimen will ensure your hair remains strong and vibrant, allowing you to enjoy your new color without compromise.
Mistake 4: Overlooking Maintenance Needs
Maintaining colored hair requires more than just using the right shampoo. Overlooking maintenance needs can lead to fading and lackluster results.
Colored hair demands specialized care, including color-safe shampoos, conditioners, and protection from heat styling.
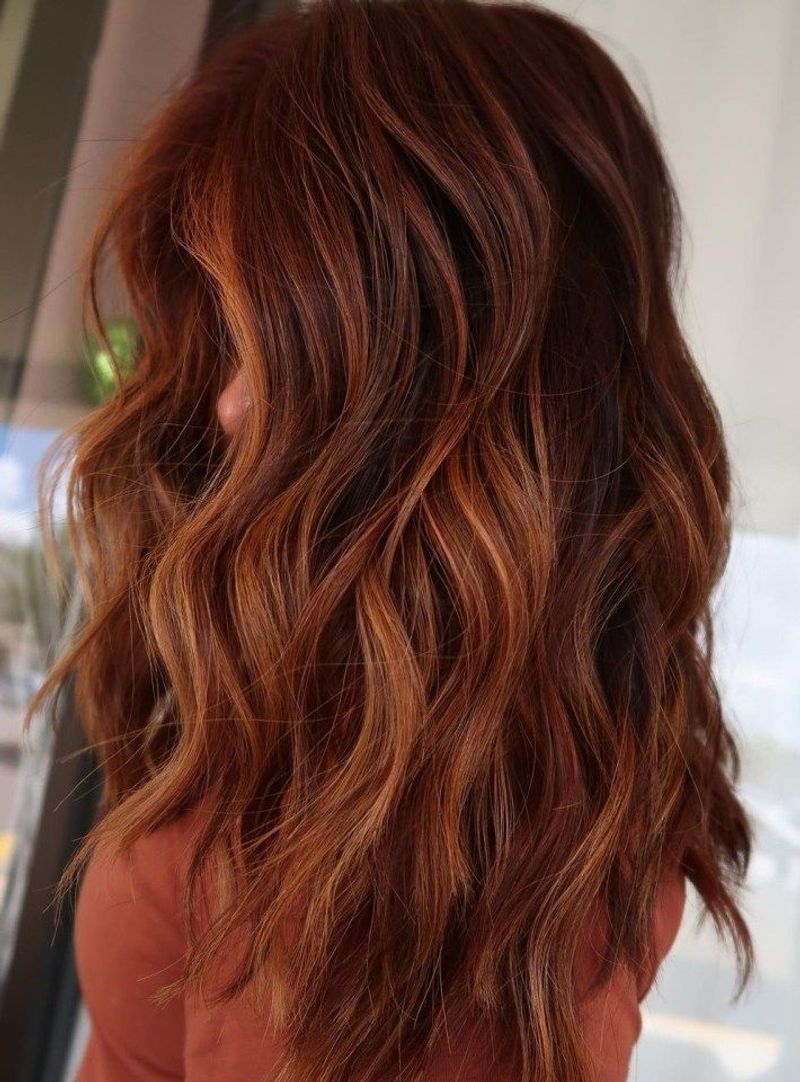
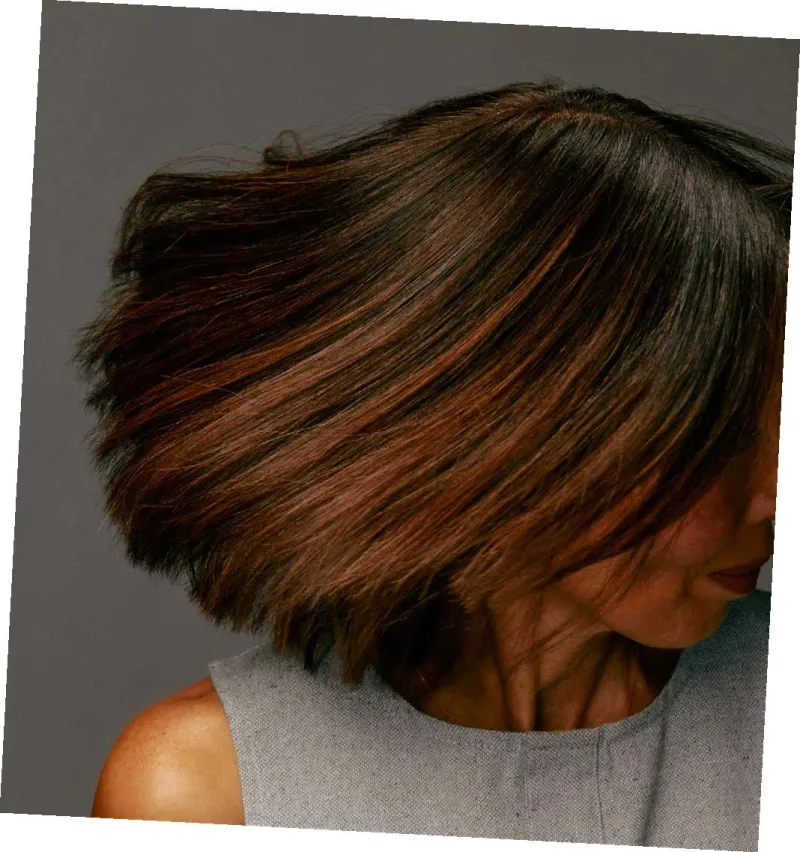
Understand that different colors have distinct maintenance requirements. Red tones, for instance, fade quicker than others. Tailor your hair care routine to prolong the vibrancy of your chosen shade.
Fix 4: Maintain with Color-Safe Products
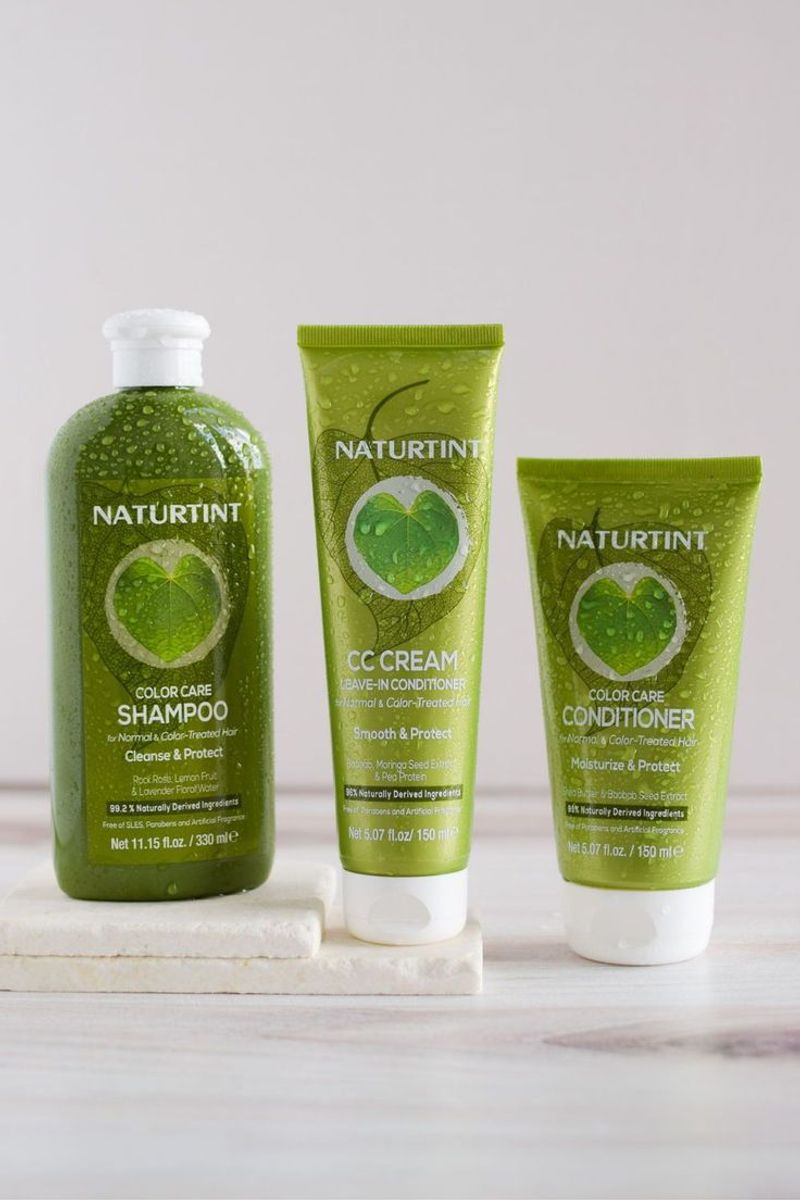
To preserve the brilliance of your hair color, invest in quality color-safe products. These are designed to cleanse without stripping away the dye, ensuring longevity.
Look for shampoos and conditioners that are sulfate-free and rich in nourishing ingredients. Regular use will keep your color looking fresh and vibrant.
Incorporate protective sprays to shield your hair from UV rays and heat styling, further extending the life of your color.
Mistake 5: Misjudging Processing Time

Underestimating or overestimating processing time is a common mistake among DIYers. This can result in uneven color or unwanted hues that do not align with your expectations.
It’s crucial to follow the dye manufacturer’s guidelines closely to achieve the desired results. Timing affects the color’s intensity and durability.
Setting a timer ensures accuracy, preventing mishaps that may require additional corrective steps. Always err on the side of caution and check progress occasionally while processing.
Fix 5: Set and Check Timers
Avoid mishaps by using timers to track your dye processing. Set multiple alarms if needed to remind you of key stages.
This ensures that the color is processed for the correct duration, achieving the perfect hue. Checking periodically allows for adjustments if the color develops unexpectedly.
Being attentive to timing not only enhances results but also protects your hair from unnecessary damage. A consistent approach will boost your confidence in DIY coloring.
Mistake 6: Neglecting Post-Dye Care
Post-dye care is crucial for maintaining the quality of the color and the health of the hair. Many forget this step, leading to premature fading and dryness.
It’s essential to follow a care regimen that includes gentle cleansing and moisturizing to lock in the color.
Include protective measures such as minimizing heat styling and wearing hats in the sun. This will ensure that your new color remains vibrant and your hair stays healthy.
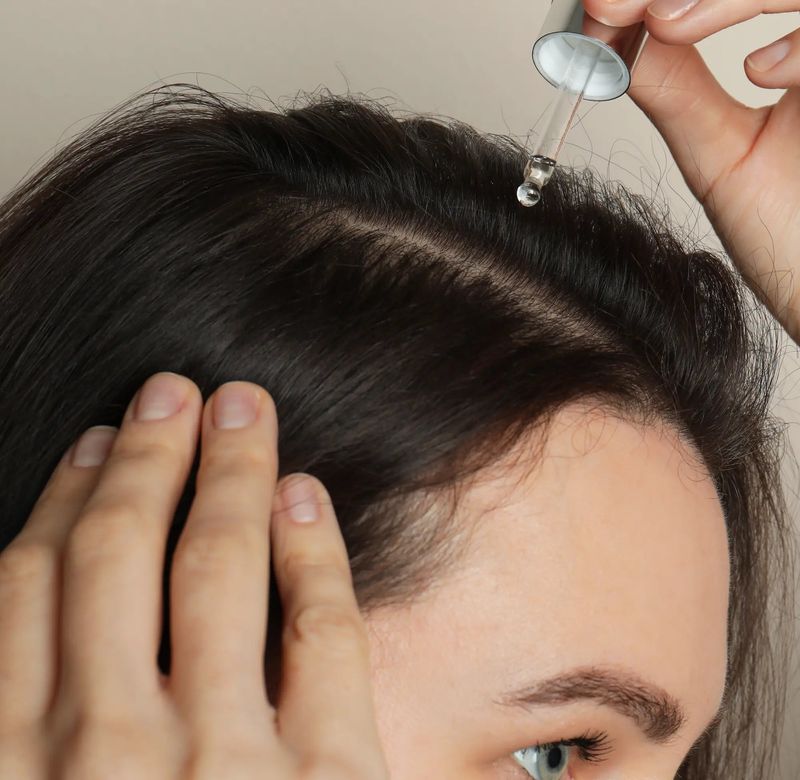
Fix 6: Implement a Care Routine
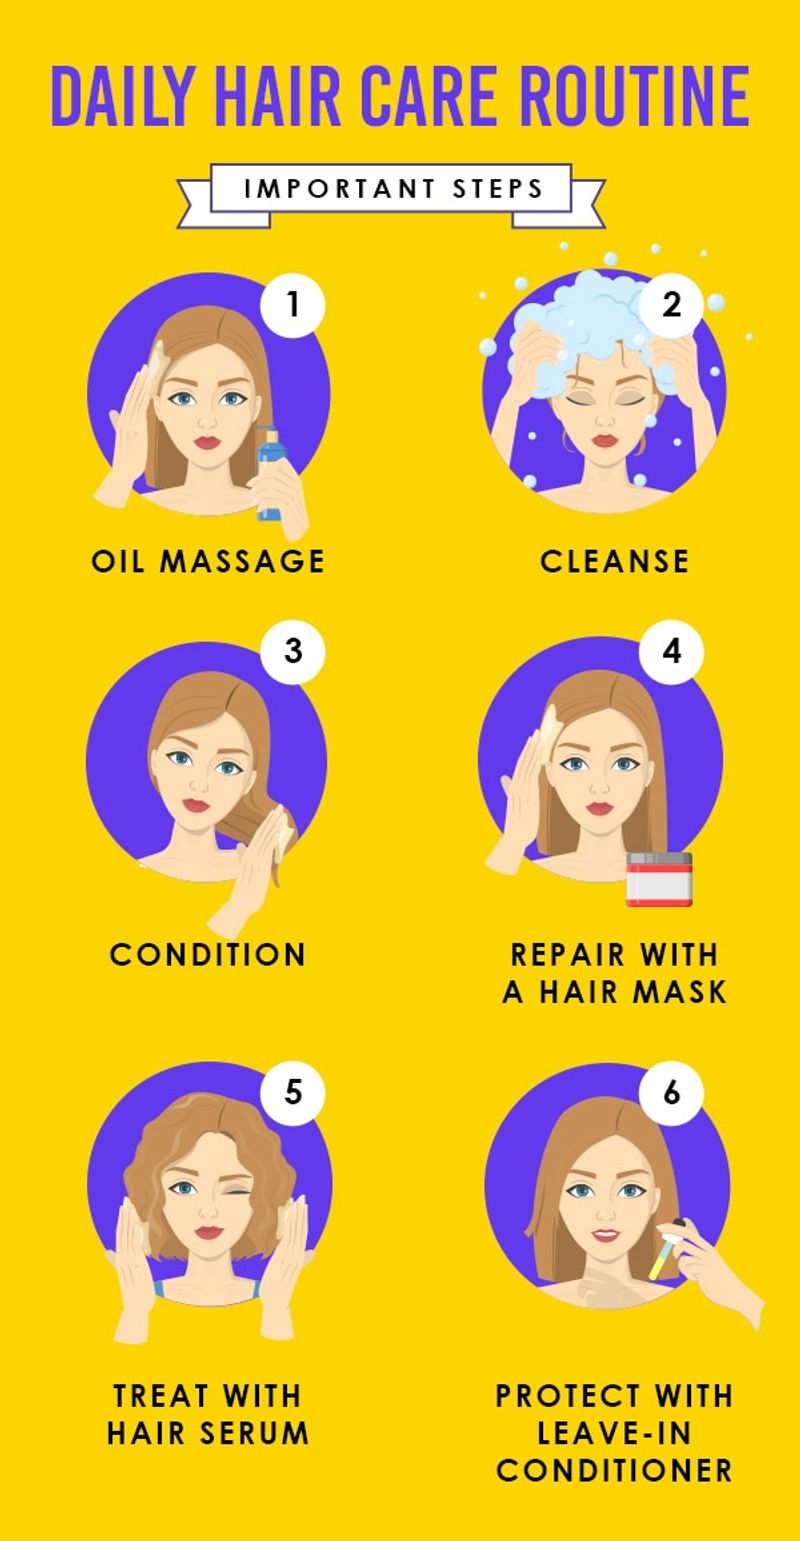
Establish a care routine tailored to your dyed hair’s needs. Begin with a gentle shampoo and conditioner designed for color-treated hair to preserve vibrancy.
Introduce serums and leave-in treatments that offer additional protection and hydration. These products help shield your hair from daily wear and environmental stressors.
Consistent care will not only maintain the color but also improve the texture and shine of your hair, making your DIY dye efforts worthwhile.
Mistake 7: Using Incorrect Tools

Using the right tools is essential for achieving an even application and professional result. Many DIYers make the mistake of using household items instead of proper dye brushes or bowls.
This can result in messy application and uneven color distribution, ultimately affecting the overall look.
Investing in the right tools can make a significant difference, ensuring a smooth process and a desirable outcome. Tools like professional brushes and sectioning clips help in applying color evenly and neatly.
Fix 7: Gather Professional Tools
For a polished and even hair color, equip yourself with professional tools designed for dyeing. These include applicator brushes, mixing bowls, and sectioning clips.
Using these tools will facilitate precise application, offering control and reducing mess. It elevates your DIY experience to a salon-like quality.
Proper equipment not only enhances the outcome but also simplifies the process, making it more enjoyable and less stressful. Consider these an investment in your hair’s beauty.